
The art of video narration

So, you’ve got your video sorted, you’ve captured some outstanding imagery and you have something you consider to be award winning, but you’ve hit a bump in the road: how to narrate your video. If you’re shooting on a budget, there’s no chance you’re going to be able to afford hiring John Hurt or Morgan Freeman to narrate, but you can narrate your own video superbly or hire someone at a fraction of the cost.
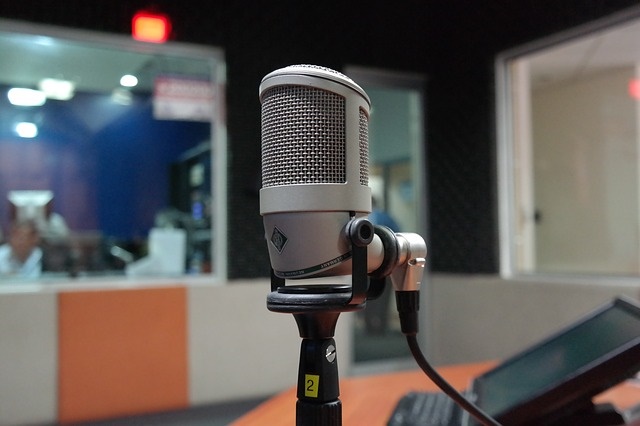
Starting off with narrating the video yourself, it’s not as headache-inducing as you might think. It just needs a bit of prep work and a quiet room. First thing is the mic, you can either go for an omnidirectional mic, which records sound from all areas, or a unidirectional mic, which records sound from one specific area. We at PP would suggest going for the unidirectional mic, which cancels out any irritating background noise.
If you can’t pay out for a professional studio, then find a room that is small, to limit echo, and keep this room as your recording studio. It’s crucial to keep consistency when recording audio, and always maintain the same settings on your software. An extra tip is to use a screen between you and the mic, as Jake Ludington explains: “One of the bigger hassles in editing voice audio tracks is cleaning up loud pops in the recording where plosive 'p' and 'b' sounds cause a burst of volume. These sounds are easily avoided by placing a screen between the person speaking or singing and the microphone. By creating a fixed distance between the vocalist and the microphone you get the added bonus of reducing sibilant sounds made through speaking words with 's' and 'ch'.”
Ideally, you’ll have a place that is completely free from noise, but just in case there’s a slight sound somewhere in the background, say from the road outside, then create your own portable sound booth. As sound needs to be dampened to record audio properly, a portable booth makes perfect sense. The awesomely creative YouTuber Alex Vietinghoff will show you how.
Now that you’ve got your room and equipment sorted, it’s on to the script. The best thing is to make your script conversational, because if you’ve never recorded audio before, this style is always a winner. Keep it concise and to the point. When reading your script, Tom, over at The Rapid E-Learning Blog, has this advice: “Practice reading it a few times to make sure it flows right. Look for words or phrases where you might stumble while recording. As far as the actual script, some people read from the computer screen. I prefer printing out the script. If you do too, don’t squeeze everything into a tight paragraph with an 8 point font. Leave enough white space so it’s easy on the eyes. Also, make sure that the room is well lit so that the script can easily be read.”
Finally, always record a demo so you can see what works and what doesn’t!
Hiring Someone
Don’t feel too bad if you just can’t narrate yourself. There are places out there where you can hire someone who doesn’t charge the earth. Fivver has some amazingly talented voiceover artists who charge from little as £4. Upwork is another excellent resource for voiceover artists.